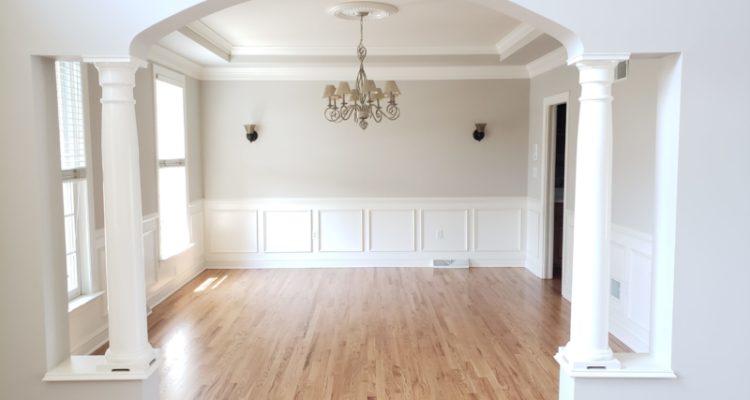
Preparing Your Space for Interior Painting in York, PA will require a little attention from our customers before we begin. We always bring a van full of drop cloths and plastic to protect your surfaces, but we need a little assistance to get things running smoothly. Following these steps will help ensure a smooth, low-stress painting experience.If you require help with any of the items below, please let us know ahead of time so we can plan accordingly. The crew at Painting By Tanya looks forward to working with you!
1. Wall Décor Removal: A Practical Starting Point
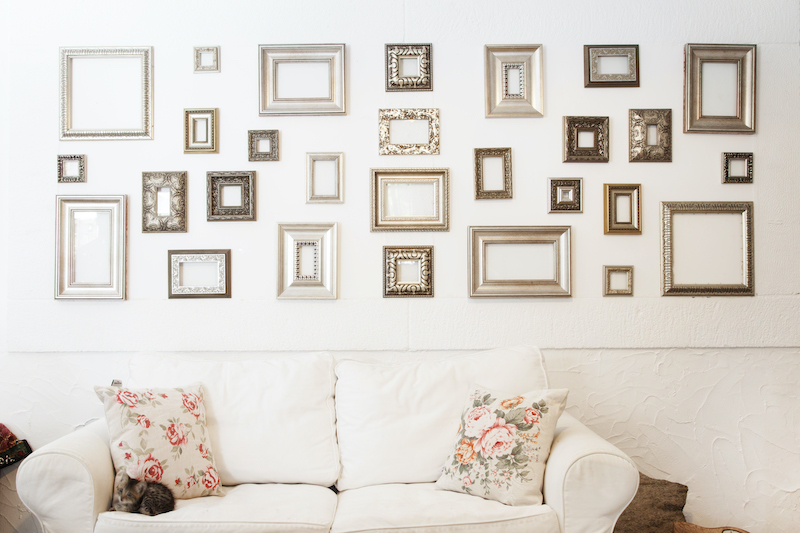
Removing wall hangings and pictures is a logical first step to protect them from paint and potential damage. For items that will return to the same spot, leaving the nail or screw in place signals to us that no filling is required. Removing the nail or screw indicates a need for our crew to patch the hole for a fresh start.
2. Curtain and Blind Care: Handling with Caution
Dealing with paint on curtains and blinds can be challenging. If they’re dirty, consider cleaning the blinds and sending curtains for dry cleaning. After removal, curtains will be protected with plastic on a couch/bed by Painting By Tanya. If replacement is on the agenda, inform us in advance to patch the holes. Please refrain from removing wall anchors holding up curtains or blinds, as we prefer to work with them in place. (We like to knock these into the wall rather than removing because it creates a more stable surface).
3. Clearing Tables and Shelves: A Necessary Move
Clearing tables and shelves of items like lamps, picture frames, and knickknacks simplifies the painting process. Organizing these items in boxes or laying them out facilitates their return to their original places.
4. China Cabinets: A Delicate Operation
China cabinets often contain valuable antiques, which makes their removal necessary. Clearing these cabinets of breakable contents allows us to move them with care. Failure to remove valuables may result in additional fees and the need for a signed waiver. Of course, we are fully insured, but we prefer not to test our coverage on family heirlooms!
5. Bathroom De-Personalization: A Considerate Step
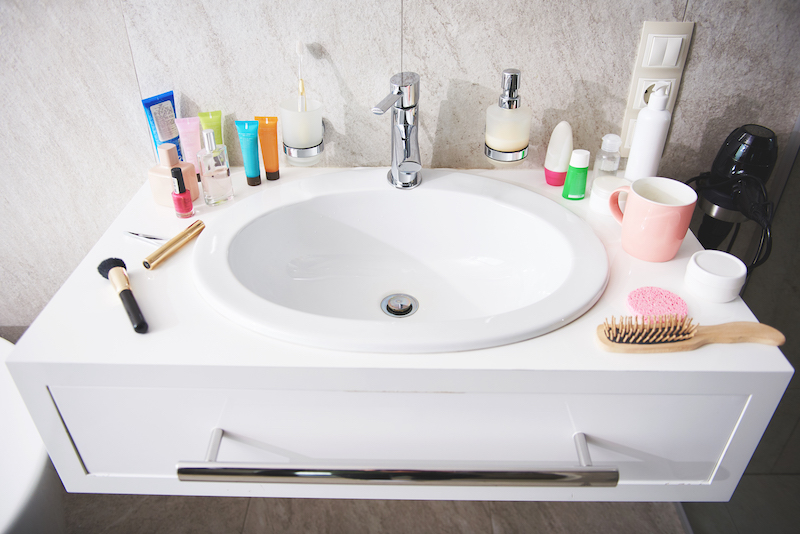
To facilitate the painting process, remove all items from bathroom countertops, including personal items like toothbrushes, toothpaste, and medication. Additionally, take down shower curtains, rugs, and anything hanging on or over the doors. Removing towel racks and toilet paper holders is also helpful. In general, Painting By Tanya recommends against hang anything over the top of a door because it will damage the paint over time.
6. Large Furniture and Antiques: A Professional Approach
Items like grandfather clocks, pianos, and oversized furniture can be challenging to move, even for a fit group of ladies like ourselves. If they are immovable, we’ll do our best to work around them. Not addressing these items may result in a fee if they impede wall access. If you’re unsure about a certain item, just reach out to us with a photo, and we will confirm ahead of time so we can be prepared. Text or email work great for this.
7. Electronics Handling: A Cautionary Note
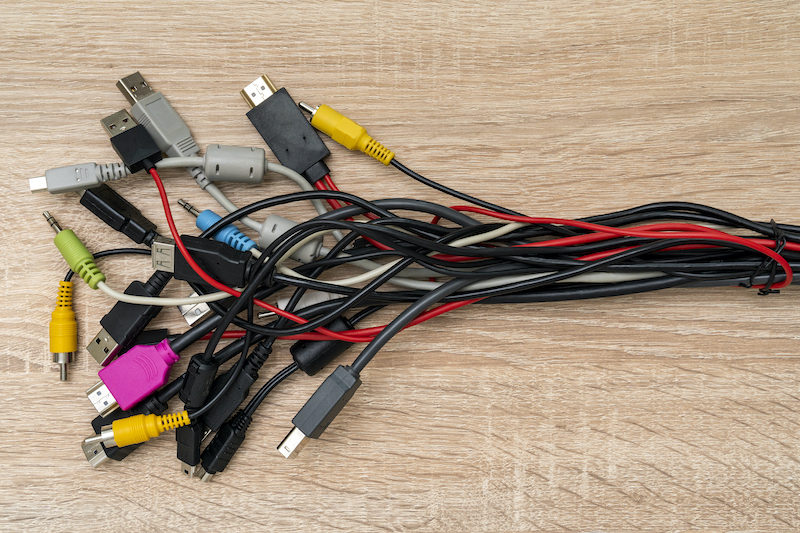
We generally do not move televisions, computers, and stereos due to liability concerns. If you require assistance moving these items, be present to sign a waiver and have a storage plan in place. Again, our insurance should cover this, but we prefer not to find out. And we are old school when it comes to installation knowledge with electronics, and we definitely don’t want to be responsible for rewiring anything; your TV remote is liable to start your microwave if left up to us.
8. Vacuuming Preparations: Addressing Dust Concerns
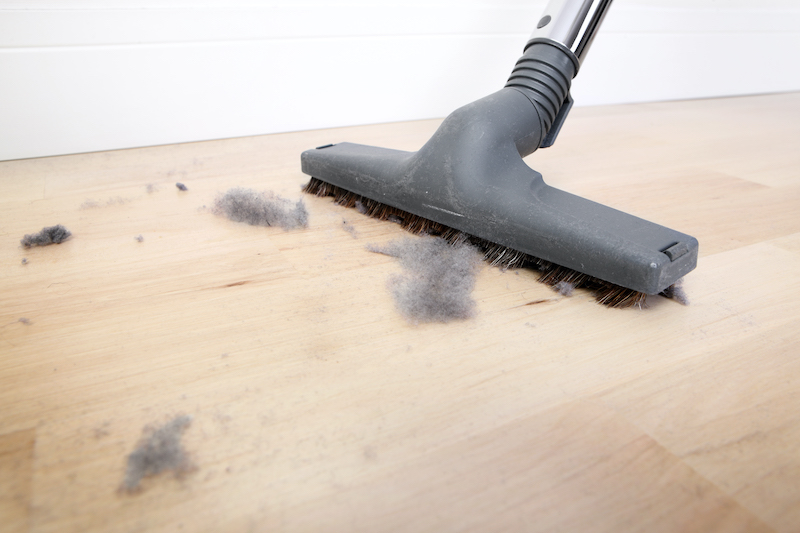
Vacuuming, especially in homes with pets, is essential to minimize dust. Focus on baseboards in carpeted rooms, as moving furniture can generate considerable dust. Ensure that the room is as dust-free as possible before the painting process begins. If the baseboards are extra sticky or greasy (Cats, we are looking at you!) please wipe them down ahead of time to avoid a cleaning fee. We hate to charge for these things, but they are time-consuming (and we would much rather be painting).
9. Addressing Sticky Surfaces: A Key Consideration
Prior to painting, remove anything sticky, such as stickers, decals, and double-sided tape. Use substances like Krud Kutter or denatured alcohol to effectively address sticky spots. If you need advice or help with this, please let us know ahead of time so we can walk you through it/budget time to address it if necessary.
10. Furniture Clearing: Optimizing Painting Efficiency
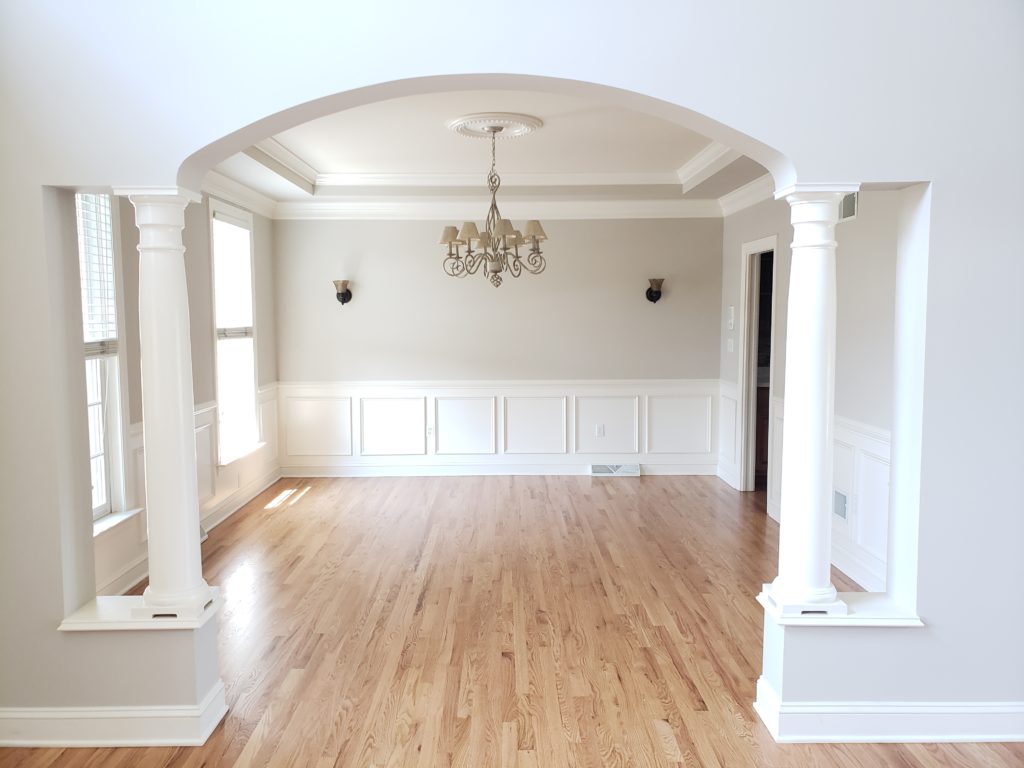
Remove as much furniture as possible from the room before painting. While we bring furniture sliders for larger items, an emptier room facilitates a smoother painting process. Excessively furnished rooms may incur additional fees if they slow down the painting process.
